
Gluten-Free Mochi Waffles
Mochi Waffles: A Chewy Delight
Mochi waffles combine the comforting familiarity of waffles with the unique, chewy texture of mochi. This fusion dish offers a delightful textural contrast – a crispy exterior giving way to a soft, slightly sticky interior. The recipe is often gluten-free, making it a great option for those with dietary restrictions.
A Fusion of Cultures
The origins of mochi waffles are relatively recent, born from the increasing popularity of both waffles and mochi around the world. Mochi, a Japanese rice cake made from glutinous rice, has been a staple in Japanese cuisine for centuries, often enjoyed during celebrations and special occasions. Waffles, with their European roots, have become a beloved breakfast and brunch item globally. The combination of these two culinary traditions results in a truly unique and satisfying dish.
Mastering the Mochi Waffle Technique
The key to perfect mochi waffles lies in the glutinous rice flour (also known as sweet rice flour or mochiko). This flour provides the characteristic chewiness of mochi. When combined with other ingredients and cooked in a waffle iron, the result is a waffle that is both crispy and delightfully chewy. Experiment with different toppings and flavors to customize your mochi waffle experience!
Ingredients
- 1 cup gluten-free all-purpose flour blend
- 1 cup sweet rice flour (mochiko)
- 2 teaspoons baking powder
- 1/2 teaspoon salt
- 1 tablespoon sugar
- 1 1/2 cups milk (dairy or non-dairy)
- 2 large eggs
- 4 tablespoons melted butter or oil
- 1 teaspoon vanilla extract
Instructions
- 1.
Preheat your waffle iron according to the manufacturer's instructions.
- 2.
In a large bowl, whisk together the gluten-free flour, sweet rice flour, baking powder, salt, and sugar.
- 3.
In a separate bowl, whisk together the milk, eggs, melted butter or oil, and vanilla extract.
- 4.
Pour the wet ingredients into the dry ingredients and whisk until just combined. Do not overmix; a few lumps are okay.
- 5.
Pour the batter onto the preheated waffle iron, using the amount recommended by your waffle iron's instructions. Cook until golden brown and crispy, usually 3-5 minutes.
- 6.
Carefully remove the waffles from the iron and serve immediately with your favorite toppings.
Nutritional Information
Equipment
- Waffle iron
- Mixing bowls
- Whisk
- Measuring cups and spoons
Tips
- For extra crispy waffles, lightly grease the waffle iron before pouring in the batter.
- Don't overmix the batter, as this can result in tough waffles.
- Serve immediately for the best texture.
- Experiment with different extracts, such as almond or coconut, for added flavor.
Try Our AI Features
Reverse Engineer Any Recipe
Just snap or upload a picture of a dish, and our AI will create the complete recipe for you.
Identify RecipeCreate Custom Recipes
Take a photo of your ingredients, and let AI create a personalized recipe just for you.
Create RecipeYou Might Also Like
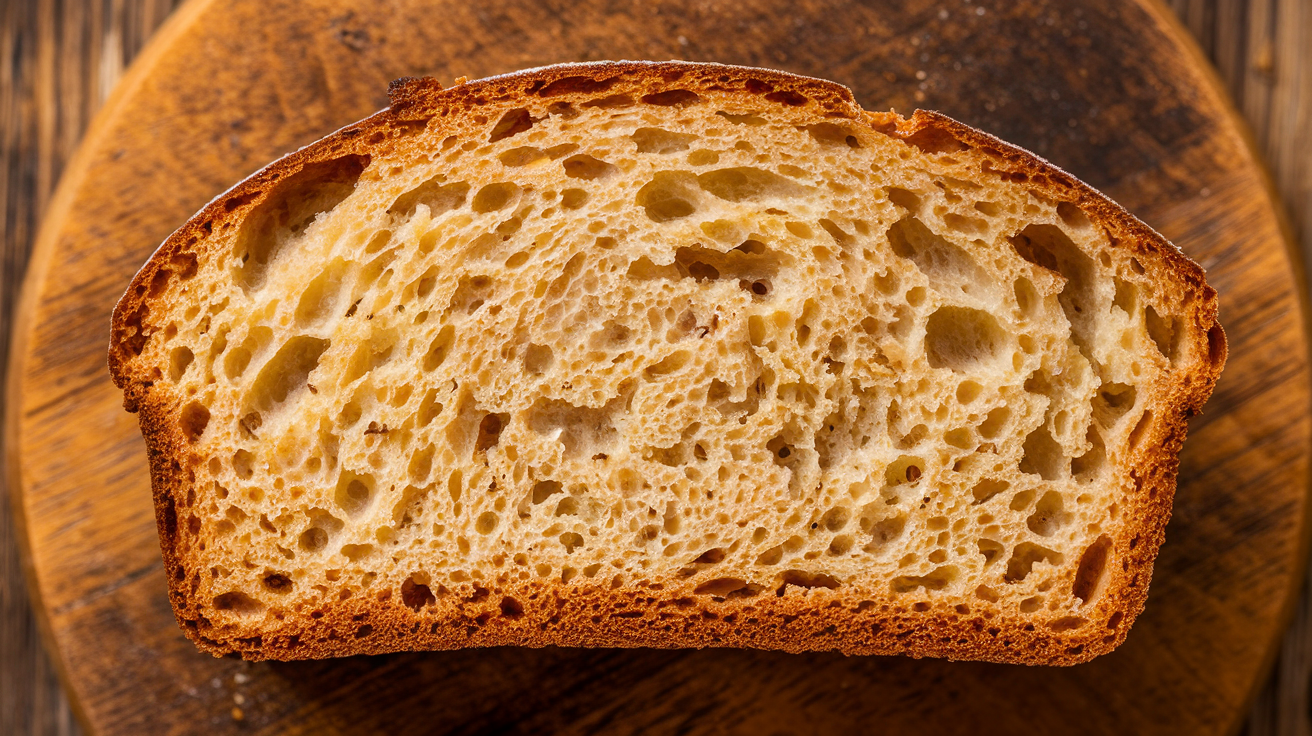
Classic Honey Bread
A sweet and comforting honey bread, perfect for breakfast, brunch, or a sweet snack. This recipe yields a moist and flavorful loaf with a delightful honey aroma.

Golden Mini Waffles Recipe
These mini waffles are perfect for a quick and easy breakfast or brunch. Crispy on the outside and fluffy on the inside, they're sure to be a hit with the whole family.
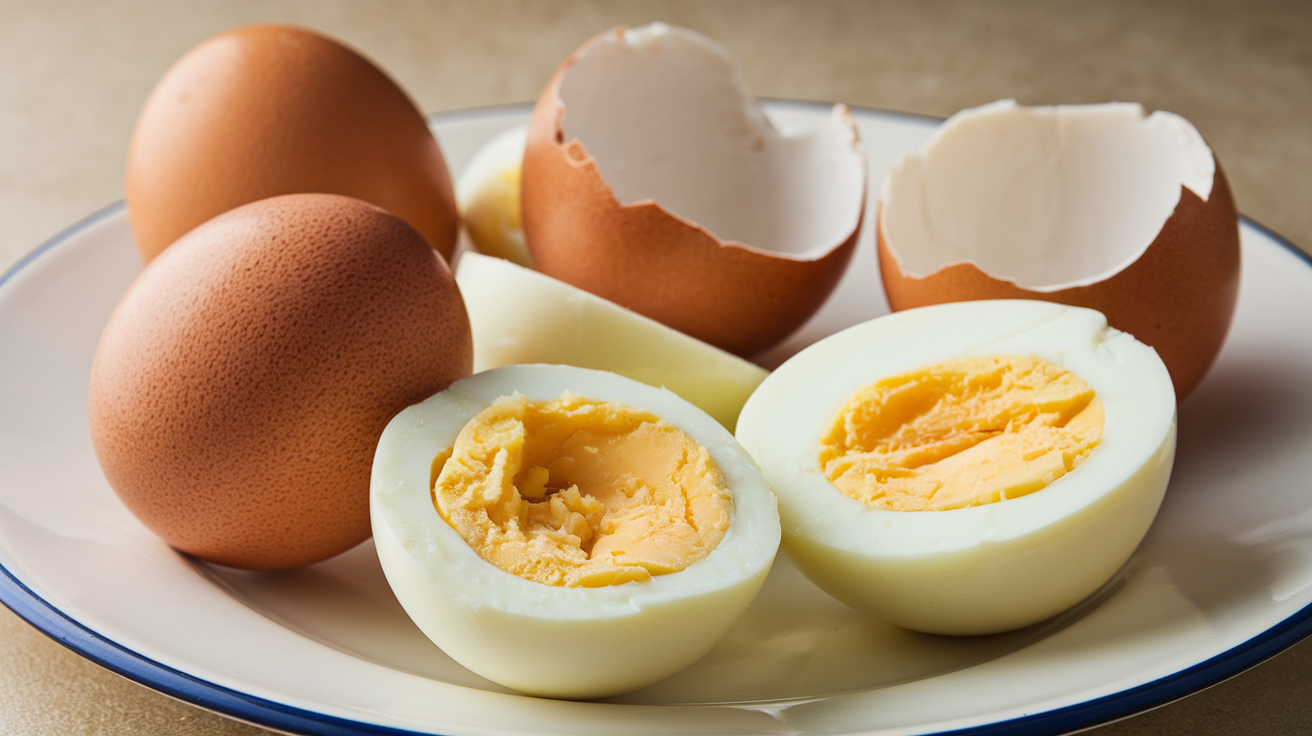
Ninja Foodi Hard Boiled Eggs
Perfectly cooked hard-boiled eggs made easy in your Ninja Foodi! This method requires no boiling and results in easy-to-peel eggs every time.
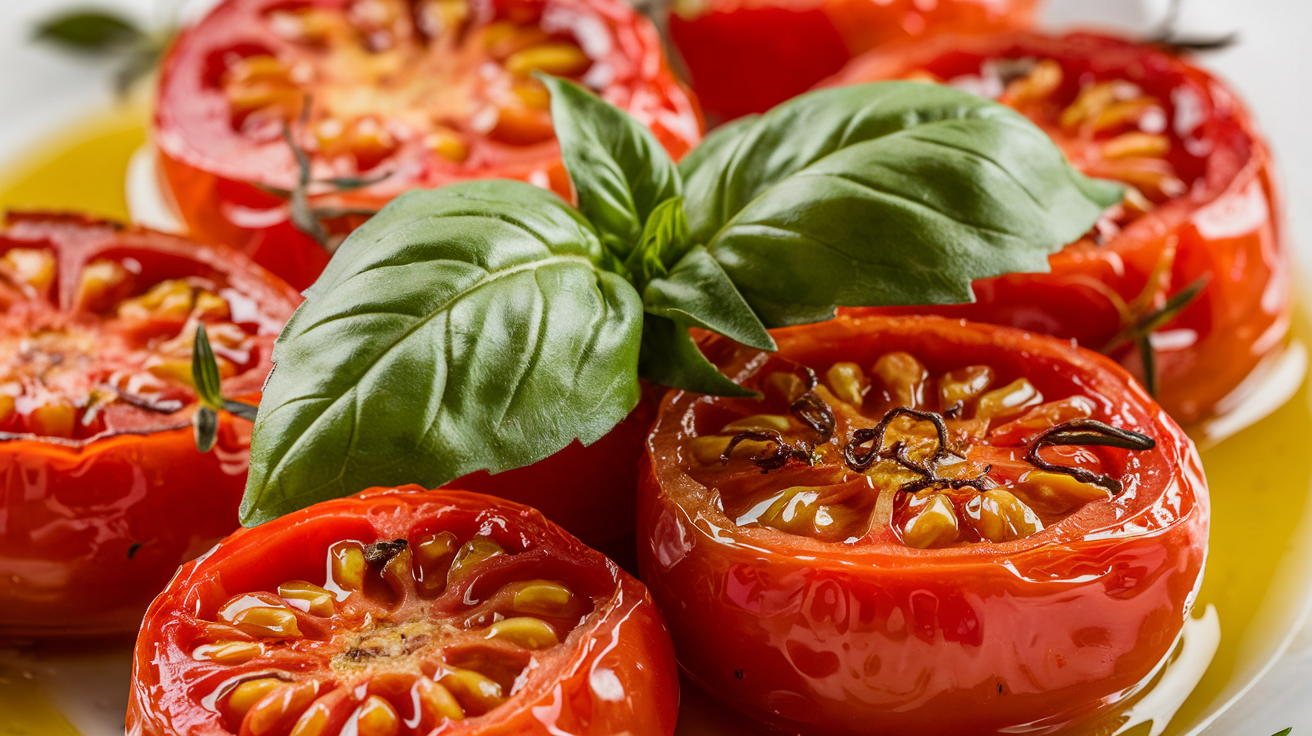
Garlic Roasted Tomatoes
These garlic roasted tomatoes are a simple yet flavorful side dish. Roasting brings out the natural sweetness of the tomatoes, while garlic adds a savory depth.
Get Weekly Recipes
Join our community for exclusive recipes and cooking tips