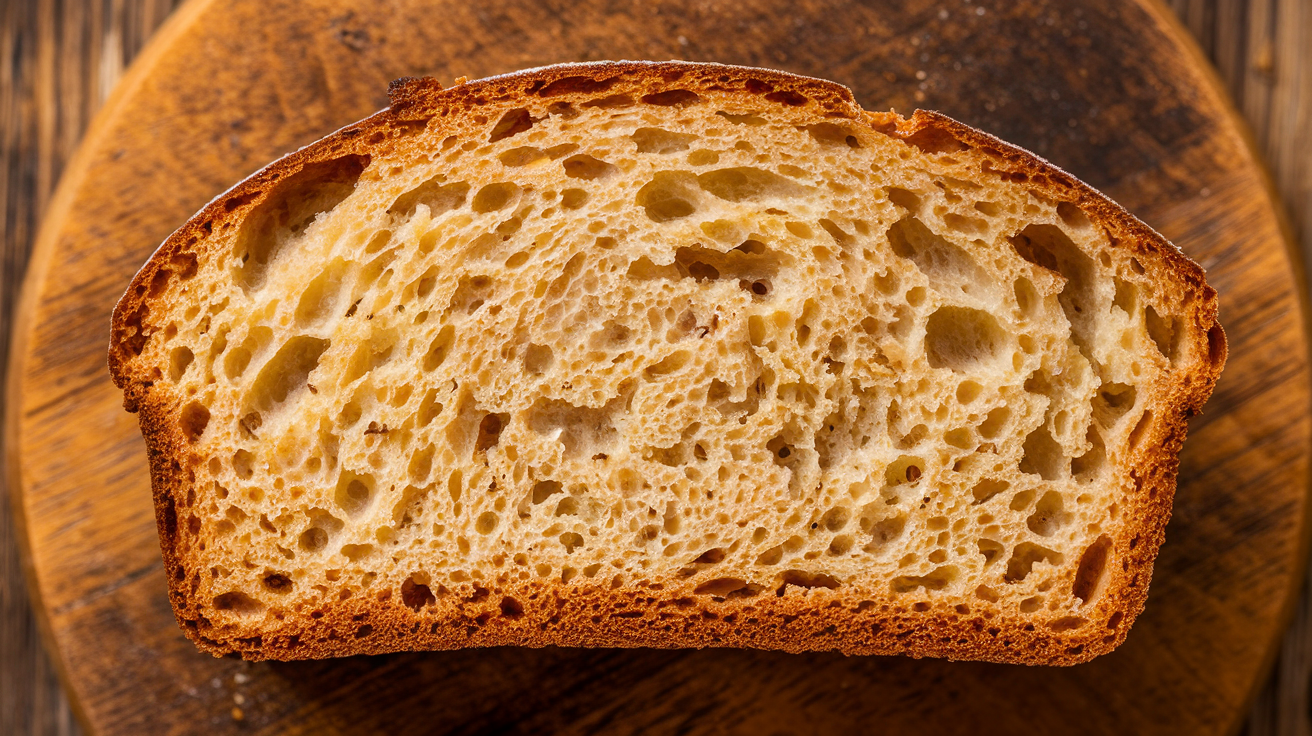
Classic Honey Bread
The Sweet History of Honey Bread
Honey bread, in its various forms, has been enjoyed for centuries across different cultures. Honey, being one of the earliest sweeteners available, was a natural choice for baking. Ancient civilizations like the Egyptians and Greeks used honey in their breads and cakes, often as offerings to the gods. Over time, honey bread evolved into the comforting and delicious treat we know today.
Cultural Significance
In many cultures, honey bread is associated with celebrations and special occasions. Its sweetness symbolizes good fortune and prosperity. It's often shared among family and friends, fostering a sense of togetherness and warmth. Whether it's a simple loaf or a more elaborate creation, honey bread holds a special place in culinary traditions worldwide.
Mastering the Technique
The key to a perfect honey bread lies in balancing the sweetness of the honey with the other ingredients. Using high-quality honey is crucial for achieving the best flavor. The dough should be properly kneaded to develop gluten, resulting in a soft and airy texture. Baking at the right temperature is also essential to prevent the bread from drying out. With a little practice, anyone can create a delicious and memorable honey bread.
Ingredients
- 3 cups all-purpose flour
- 1 teaspoon salt
- 1 teaspoon baking soda
- 1/2 teaspoon ground cinnamon
- 1/2 cup unsalted butter, softened
- 3/4 cup granulated sugar
- 1/2 cup honey
- 2 large eggs
- 1 cup buttermilk
- 1 teaspoon vanilla extract
Instructions
- 1.
Preheat oven to 350°F (175°C). Grease and flour a 9x5 inch loaf pan.
- 2.
In a large bowl, whisk together flour, salt, baking soda, and cinnamon.
- 3.
In a separate bowl, cream together butter and sugar until light and fluffy. Beat in honey and eggs, one at a time, then stir in vanilla.
- 4.
Gradually add the dry ingredients to the wet ingredients, alternating with buttermilk, beginning and ending with dry ingredients. Mix until just combined.
- 5.
Pour batter into the prepared loaf pan and bake for 40-45 minutes, or until a wooden skewer inserted into the center comes out clean.
- 6.
Let cool in the pan for 10 minutes before transferring to a wire rack to cool completely.
Nutritional Information
Equipment
- 9x5 inch loaf pan
- Mixing bowls
- Whisk
- Electric mixer (optional)
- Measuring cups and spoons
- Wire rack
Tips
- For a richer flavor, use brown butter instead of softened butter.
- Add chopped nuts or dried fruit for extra texture and flavor.
- Store the bread in an airtight container at room temperature for up to 3 days.
- Warm a slice slightly and spread with butter or cream cheese for an extra treat.
Try Our AI Features
Reverse Engineer Any Recipe
Just snap or upload a picture of a dish, and our AI will create the complete recipe for you.
Identify RecipeCreate Custom Recipes
Take a photo of your ingredients, and let AI create a personalized recipe just for you.
Create RecipeYou Might Also Like

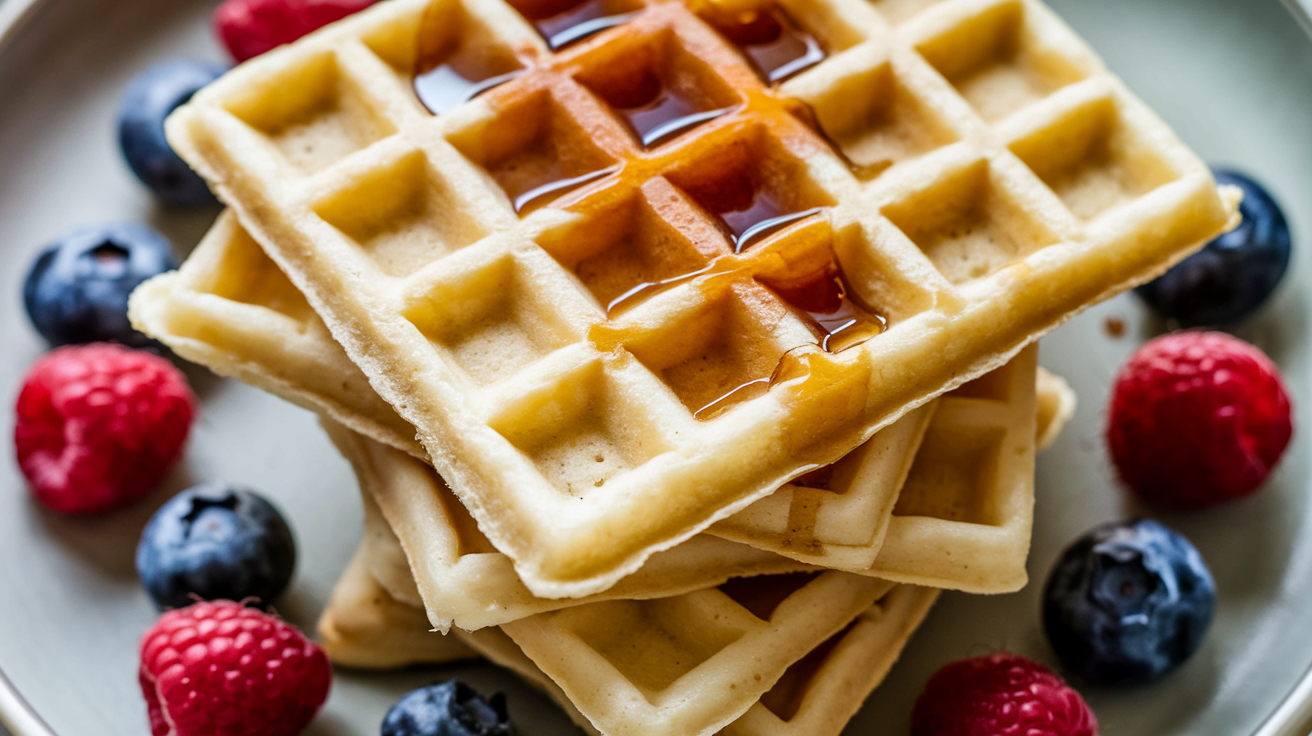
Golden Mini Waffles Recipe
These mini waffles are perfect for a quick and easy breakfast or brunch. Crispy on the outside and fluffy on the inside, they're sure to be a hit with the whole family.
Keto Waffles Recipe
Enjoy delicious and fluffy keto waffles with this easy recipe. Perfect for a low-carb breakfast or brunch.
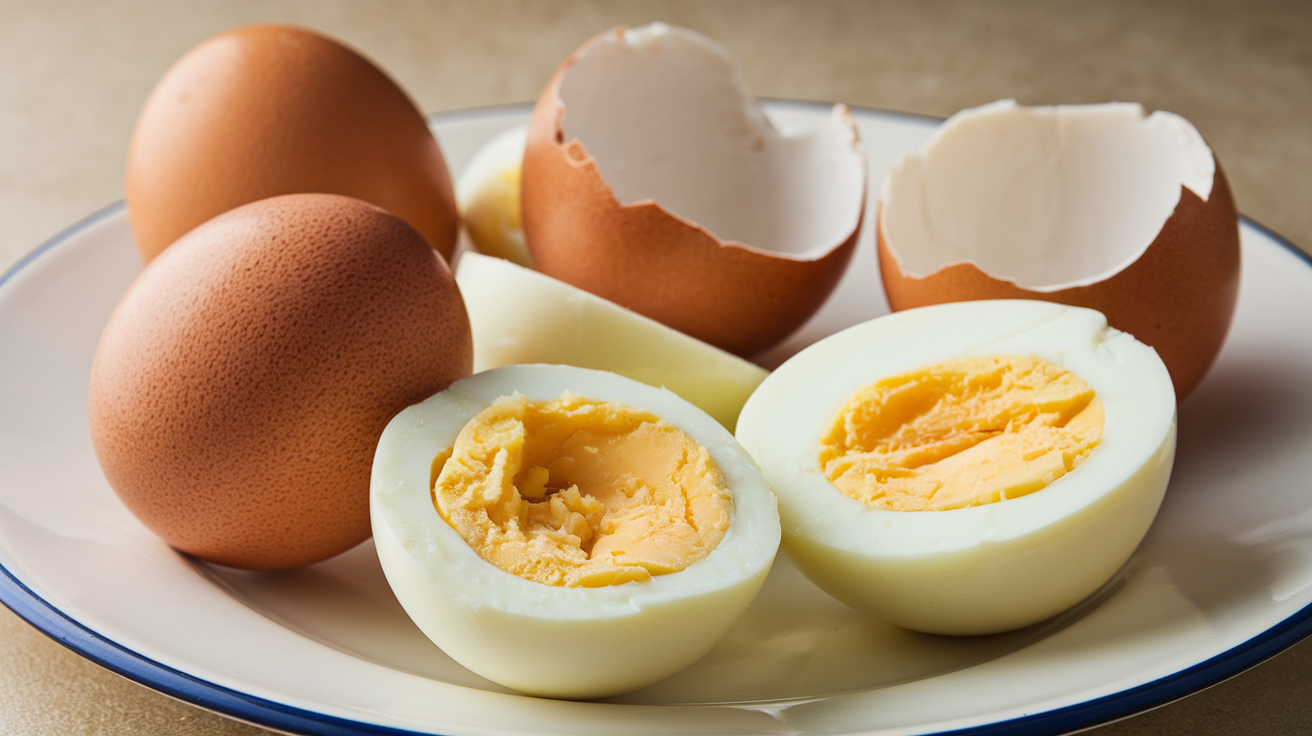
Ninja Foodi Hard Boiled Eggs
Perfectly cooked hard-boiled eggs made easy in your Ninja Foodi! This method requires no boiling and results in easy-to-peel eggs every time.

Garlic Roasted Tomatoes
These garlic roasted tomatoes are a simple yet flavorful side dish. Roasting brings out the natural sweetness of the tomatoes, while garlic adds a savory depth.
Get Weekly Recipes
Join our community for exclusive recipes and cooking tips