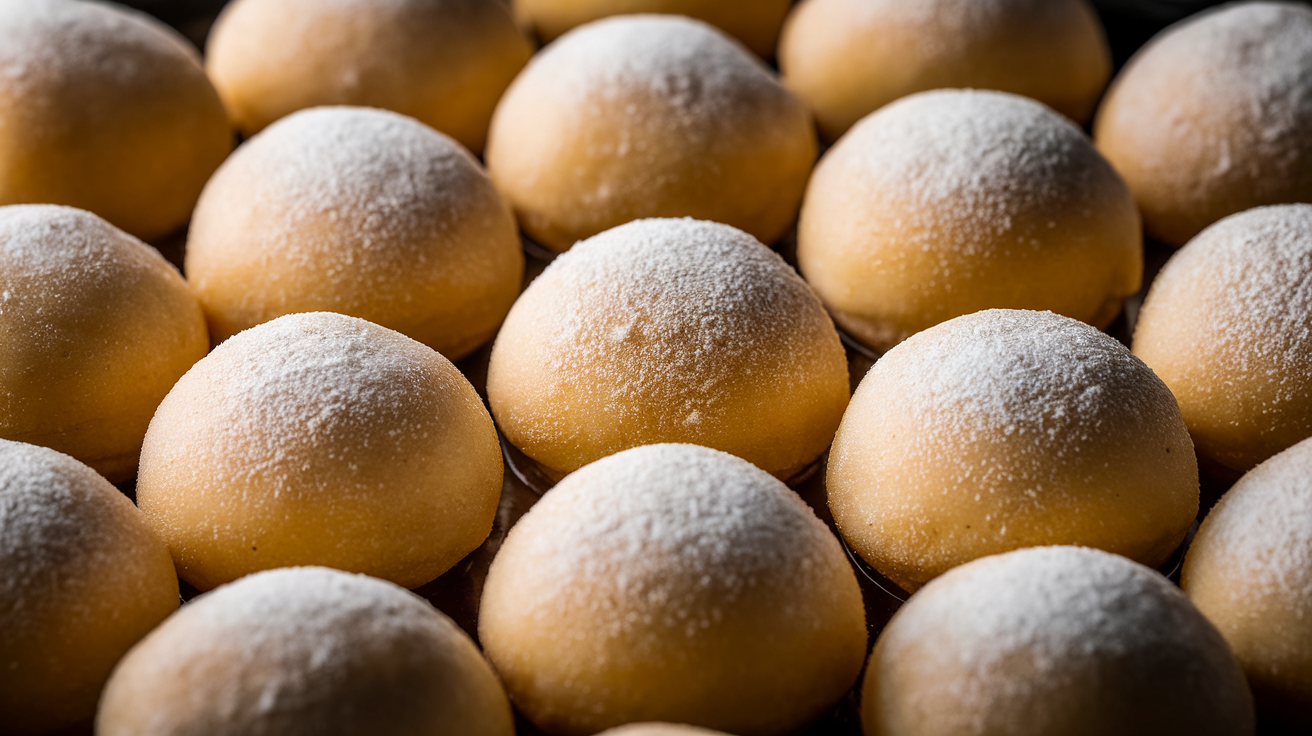
Thai Tea Mochi Recipe
The Fusion of Flavors: Thai Tea Mochi
Mochi, a Japanese rice cake made from glutinous rice flour, has a long and rich history in Japanese culture, often enjoyed during special occasions and festivals. Its soft, chewy texture is incredibly satisfying. Thai tea, on the other hand, is a beloved beverage in Thailand, known for its vibrant orange color and creamy, spiced flavor. This recipe brings these two culinary traditions together, creating a unique and delicious dessert.
A Modern Twist on Tradition
This Thai Tea Mochi recipe is a modern twist on traditional mochi, infusing the dough with the distinctive flavors of Thai tea. The result is a visually appealing and incredibly flavorful treat that is sure to impress. The slight bitterness of the tea perfectly complements the sweetness of the mochi, creating a balanced and harmonious flavor profile.
Cooking Techniques
The key to making perfect mochi lies in achieving the right consistency of the dough. Steaming or microwaving the glutinous rice flour mixture is crucial for creating the signature chewy texture. The addition of Thai tea not only imparts flavor but also adds moisture, ensuring a soft and pliable dough. Kneading the dough until smooth and elastic is also essential for achieving the desired texture.
Ingredients
- 1 cup glutinous rice flour (mochiko)
- 1 cup Thai tea concentrate (strongly brewed)
- 1/2 cup granulated sugar
- 1/4 cup sweetened condensed milk
- 1/2 cup cornstarch, for dusting
Instructions
- 1.Prepare the Thai Tea Concentrate
Brew a strong batch of Thai tea using your preferred method. Let it cool slightly before using.
- 2.Combine Ingredients
In a microwave-safe bowl, whisk together the glutinous rice flour, Thai tea concentrate, granulated sugar, and sweetened condensed milk until smooth. Ensure there are no lumps.
- 3.Microwave the Mochi
Cover the bowl with plastic wrap, leaving a small vent for steam to escape. Microwave on high for 1 minute. Stir well with a wet spatula. Cover again and microwave for another 1 minute. Stir again. Repeat for a final minute, or until the mochi is translucent and sticky.
- 4.Knead the Dough
Generously dust a clean surface with cornstarch. Carefully transfer the hot mochi dough onto the cornstarch-covered surface. Dust your hands with cornstarch as well.
- 5.Shape the Mochi
Knead the mochi dough for a few minutes until it becomes smooth and elastic. Be careful, as it will be hot. Divide the dough into 12 equal pieces.
- 6.Form the Mochi Balls
Roll each piece of dough into a small ball. Dust with more cornstarch to prevent sticking.
- 7.Serve
Serve the Thai Tea Mochi immediately or store in an airtight container at room temperature for up to 2 days. Dust with additional cornstarch before serving if they become sticky.
Nutritional Information
Equipment
- Microwave-safe bowl
- Plastic wrap
- Spatula
- Measuring cups and spoons
- Clean surface for kneading
Tips
- Use high-quality glutinous rice flour for the best texture.
- Adjust the amount of sugar to your preference.
- Keep your hands and work surface well-dusted with cornstarch to prevent sticking.
- For a stronger Thai tea flavor, use a more concentrated brew.
- If the mochi becomes too sticky, microwave it for a few seconds to soften it before kneading.
Frequently Asked Questions
Try Our AI Features
Reverse Engineer Any Recipe
Just snap or upload a picture of a dish, and our AI will create the complete recipe for you.
Identify RecipeCreate Custom Recipes
Take a photo of your ingredients, and let AI create a personalized recipe just for you.
Create RecipeYou Might Also Like
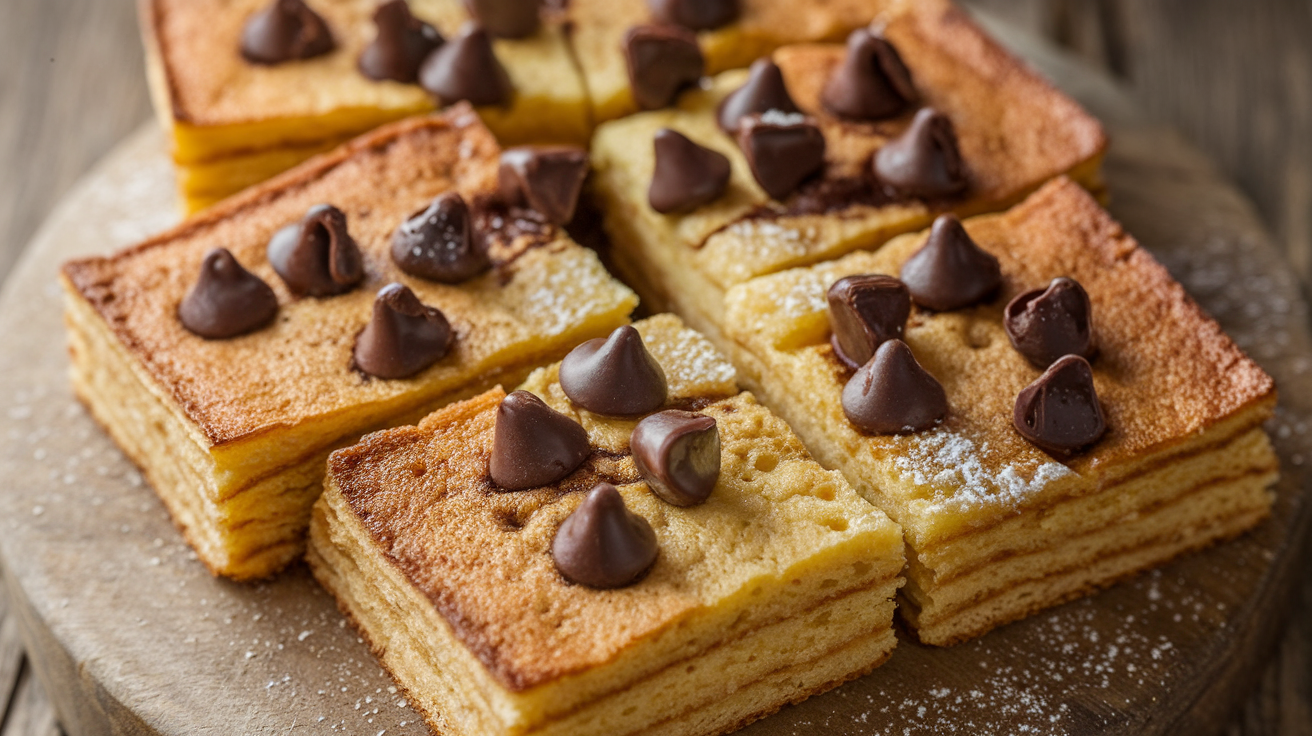
Chocolate Flapjack Recipe
Indulge in these chewy and chocolatey flapjacks, perfect for a sweet treat or an energy boost. This recipe combines the wholesome goodness of oats with the rich flavor of chocolate.
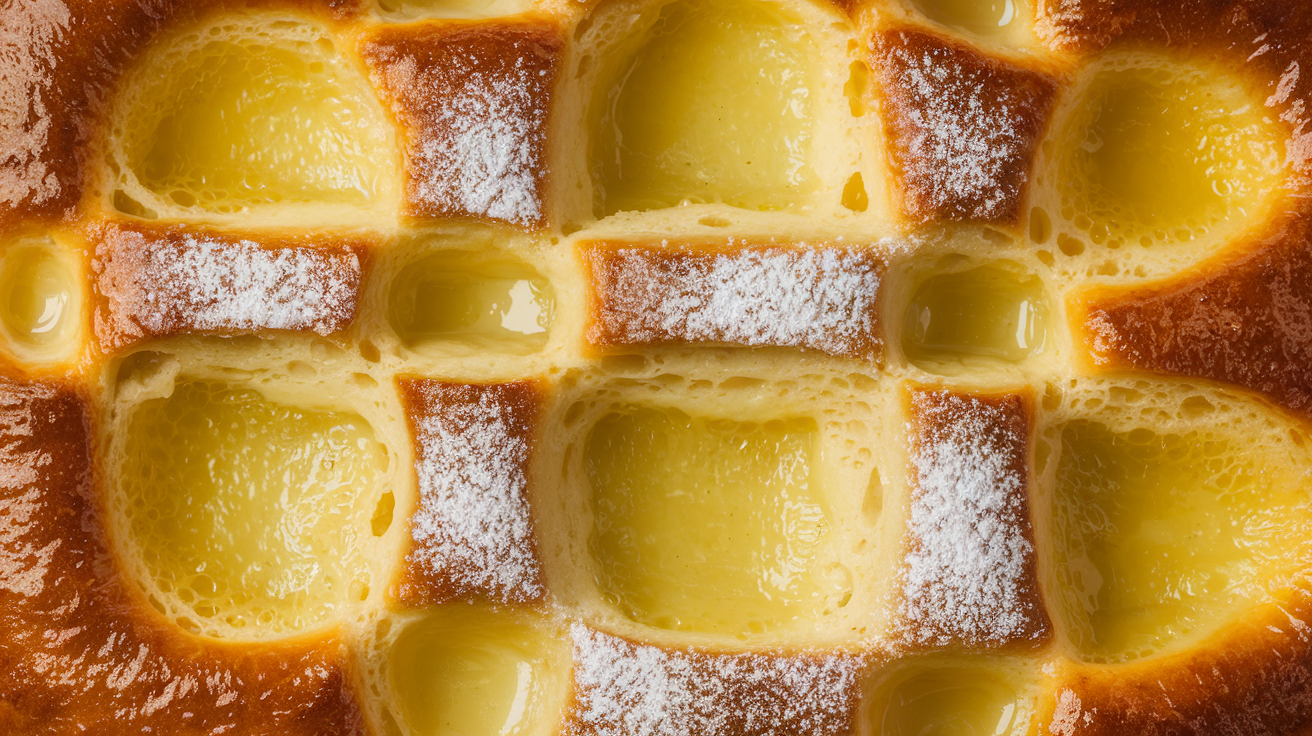
Easy Lemon Dump Cake
This lemon dump cake is a simple and delicious dessert that requires minimal effort. With just a few ingredients, you can have a sweet and tangy treat ready in no time.

Air Fryer Hawaiian Rolls with Ham and Cheese
These air fryer Hawaiian rolls are filled with ham and cheese, then cooked to golden brown perfection. A quick and easy lunch or snack!
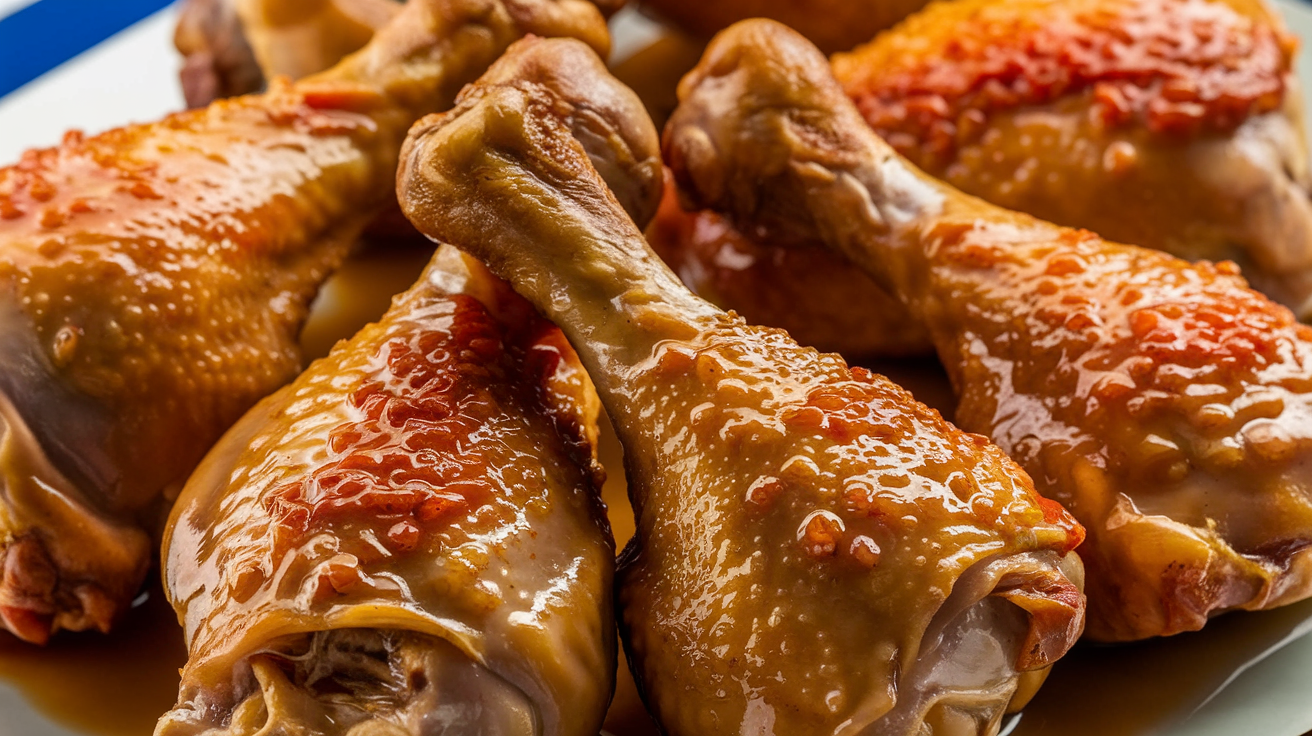
Baked Honey Garlic Chicken Drumsticks for Kids
These baked honey garlic chicken drumsticks are a guaranteed kid-pleaser! They're easy to make, deliciously sweet and savory, and perfect for a weeknight dinner.
Get Weekly Recipes
Join our community for exclusive recipes and cooking tips